
How to integrate DCS PBX with Zoho :
Step1:
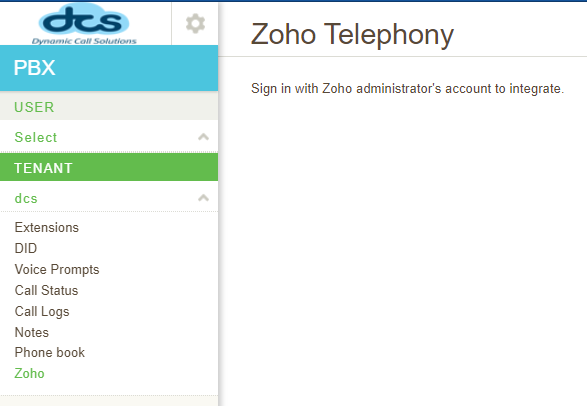
Click on Zoho Menu, then click on “Sign in with Zoho administrator’s account to integrate” to enable the integration.
Step2. Enable Zoho for Users
One you have accepted the integration; you need to enable Zoho for individual users. To do this, click on Extensions, click the user and go to Zoho Telephony.
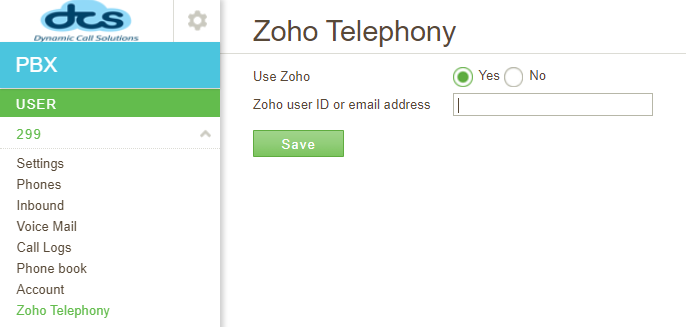
Enter the Zoho User ID or email address and hit Save.
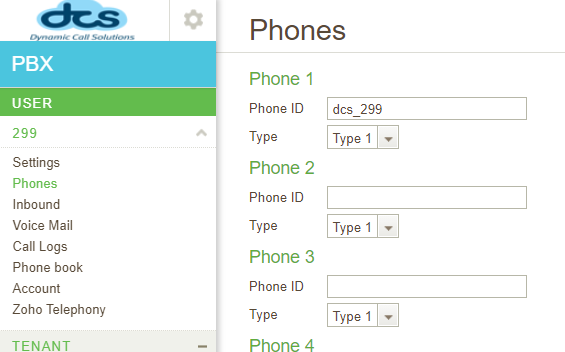
DCS PBX only uses the [Phone 1] settings for zoho integration. At each extension menu > [Phones], Keep blank at the Phone ID field in [Phone 2] -[Phone 4] section (Default Setting).
Optional Setting 3. Use DCS Phone / Web Phone
In the case that extension users use DCS Phone or Web Phone with Zoho products, select the “Web Phone” at [Phones] > [Phone 1] > [type] in each extension user menu.
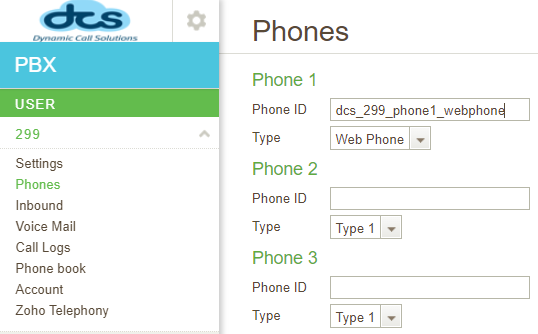
Also, at their DCS Phone or Web Phone’s connection profile page, select “Phone 1”
